We’re excited to announce that Linkinize is now available as a Raycast extension — bringing your team’s bookmarks right to your fingertips without ever leaving your keyboard.
If you’re a Mac user who relies on Raycast for your daily workflow, you can now search, open, and manage your Linkinize bookmarks in the same place you launch apps, run scripts, and control your tools.
Why Raycast?
Raycast has become the go-to launcher for developers and power users on macOS. It’s fast, extensible, and designed around the idea that you should never have to leave your keyboard to get things done.
For teams already using Linkinize to organize and share bookmarks, having instant access through Raycast means one less browser tab to open, one less context switch in your day.
What You Can Do
Search Bookmarks Instantly
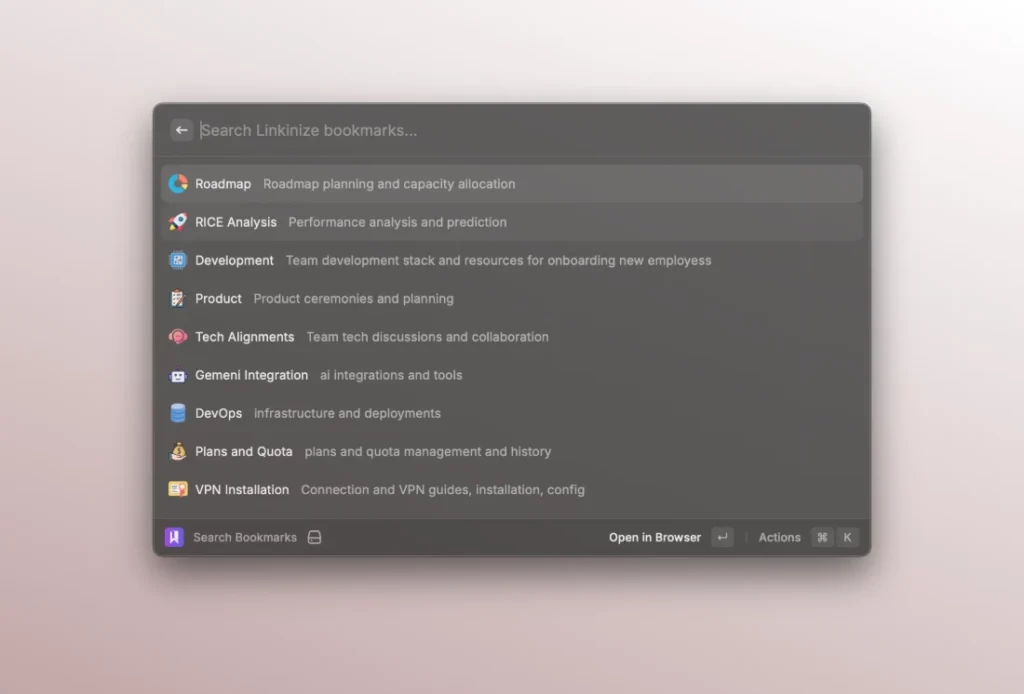
Open Raycast, type your query, and find the bookmark you need in milliseconds. Linkinize syncs your workspace bookmarks locally, so search results appear instantly — no network delay, no waiting.
Each bookmark shows its name, description, and favicon, so you can quickly identify the right link. Hit Enter to open it in your browser, or use ⌘C to copy the URL to your clipboard.
You can also set up a global keyboard shortcut (⌘⌥L by default) to jump straight into bookmark search from anywhere on your Mac.
Switch Between Workspaces
If you work across multiple organizations or workspaces in Linkinize, the Switch Context command (⌘⌥O) lets you quickly change which workspace you’re searching. No need to open the browser or the Linkinize app — just pick your workspace and your bookmarks update automatically.
Automatic Background Sync
The extension syncs your bookmarks in the background every 30 minutes, so your local data is always up to date. You can also trigger a manual sync anytime if you’ve just added new bookmarks and want them available immediately.
Getting Started
Setting up takes less than a minute:
Install Raycast if you haven’t already (it’s free).
Search for “Linkinize” in the Raycast Store, or visit the extension page directly.
Install the extension and enter your Linkinize email and password when prompted.
That’s it — start searching with ⌘⌥L.
Smart Ranking
Bookmarks aren’t just listed alphabetically. The extension uses a relevance-based ranking system that prioritizes the links you actually use. The more you open a bookmark through Raycast, the higher it appears in your results — so your most important links are always at the top.
Built for Teams
This extension works with all Linkinize plans. Whether you’re on a personal account or part of an enterprise team with dozens of workspaces, your bookmarks are available the moment you open Raycast.
And because everything syncs from your Linkinize workspace, any bookmark added by a teammate shows up in your Raycast search automatically — no extra setup needed.
What’s Next
This is just the beginning for our Raycast integration. We’re exploring features like creating new bookmarks directly from Raycast, quick actions for tagging and organizing, and deeper workspace management — all without leaving your launcher.
Have ideas for what you’d like to see? We’d love to hear from you — reach out through our contact page or drop us a message in your Linkinize workspace.
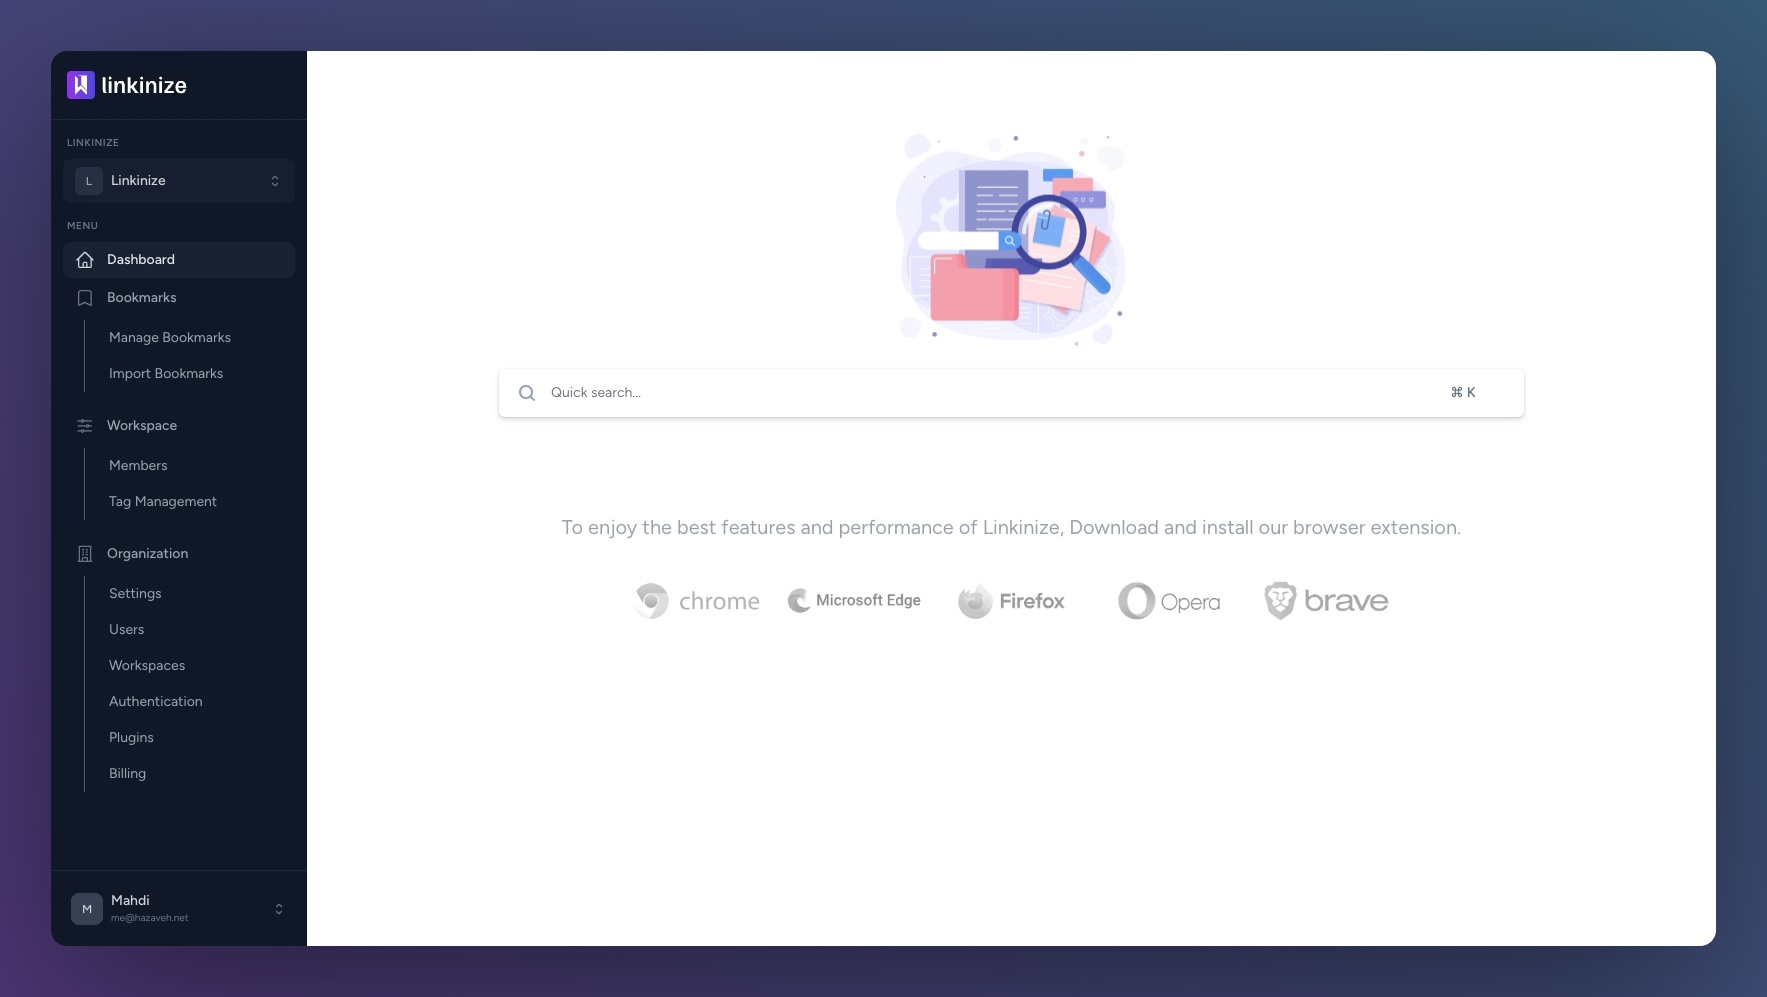
We’ve been quietly improving the Linkinize web app, and it’s now in a much better place than it was even a few weeks ago.
If you’re not using the extension or you’re just on your phone, the web app is really where Linkinize shines. Quick access, no setup, just open and go.
One of the biggest upgrades is the mobile experience. Everything feels lighter, faster, and just easier to use. Navigation is smoother, layouts make more sense on smaller screens, and overall it doesn’t feel like a “desktop squeezed into mobile” anymore.
Search also got a proper upgrade. You can now go through your bookmarks quickly without friction. Open the web app, type what you’re looking for, and it’s there. No digging, no guessing.
This is one of those updates that doesn’t scream for attention, but you’ll feel it immediately once you start using it.
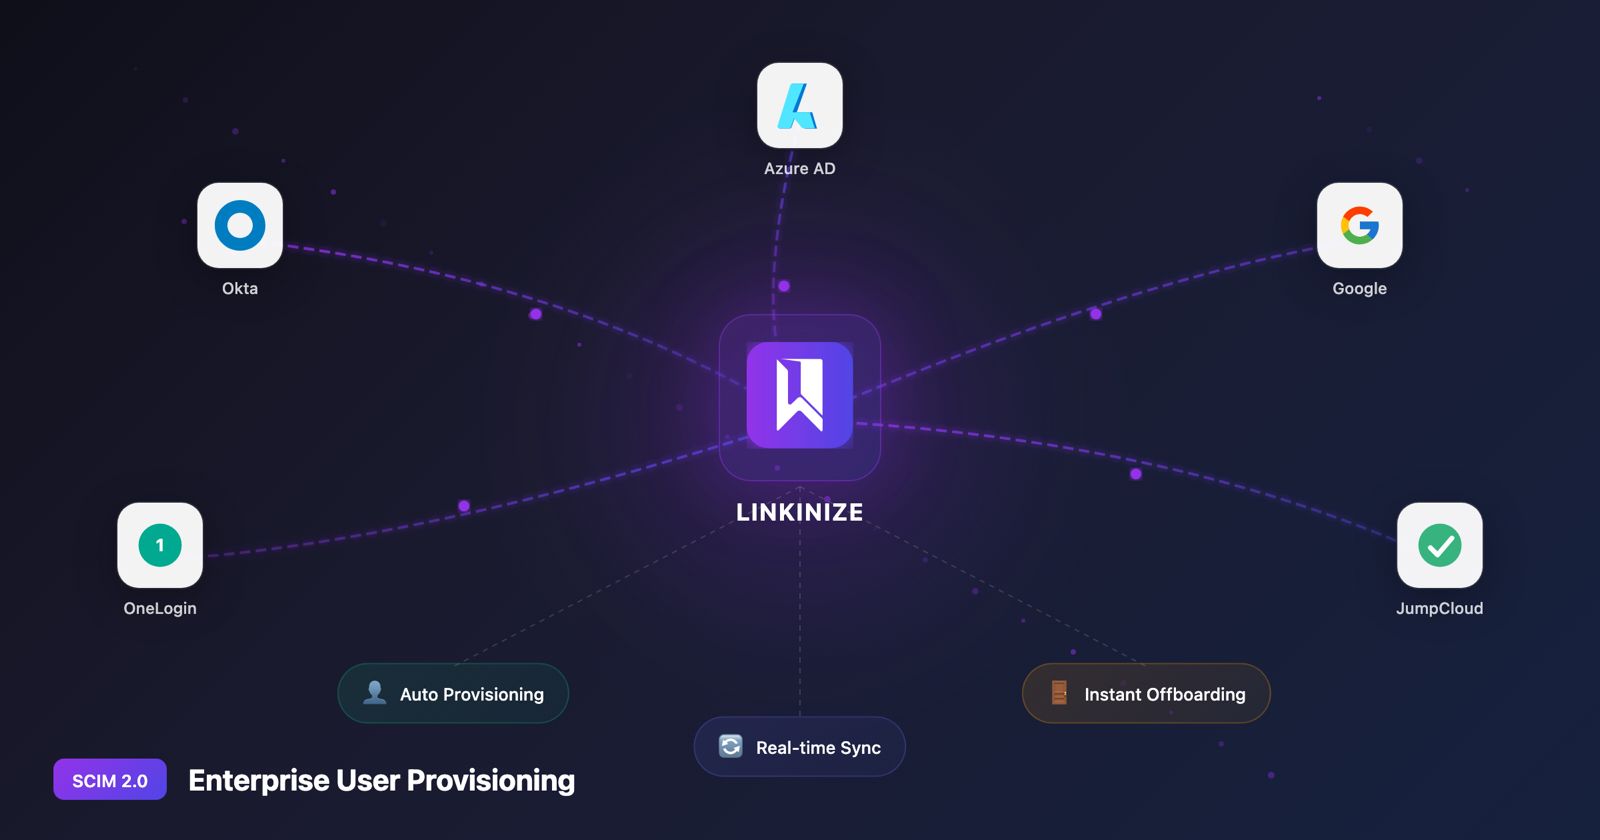
Managing user access across your organization shouldn’t be a manual, error-prone process. That’s why we’re excited to announce SCIM 2.0 provisioning support for Linkinize Enterprise customers.
With SCIM (System for Cross-domain Identity Management), you can now automatically provision, update, and deprovision users directly from your identity provider. No more manual invites. No more forgotten access. No more security risks from delayed offboarding.
What is SCIM and Why Does It Matter?
SCIM 2.0 is an open standard protocol that enables automated user identity management between your Identity Provider (IdP) and applications like Linkinize. It’s the backbone of modern enterprise identity workflows.
The Problem SCIM Solves
Before SCIM, IT teams faced common challenges:
Manual user provisioning – Adding each employee to every app individually
Delayed offboarding – Former employees retaining access for days or weeks
Inconsistent user data – Names and roles out of sync across systems
Compliance risks – No audit trail of who has access to what
How SCIM Changes Everything
With SCIM enabled, your identity provider becomes the single source of truth:
Action in IdP
Result in Linkinize
Add user to group
User automatically provisioned with correct workspace access
Update user profile
Name and attributes sync automatically
Remove user from group
User instantly deactivated, access revoked
Disable user account
Immediate offboarding across all workspaces
Supported Identity Providers
Linkinize SCIM 2.0 works with all major enterprise identity providers:
Fully Tested & Supported
Okta – Full user lifecycle management with incremental sync
Microsoft Entra ID (Azure AD) – Seamless integration with Microsoft 365 environments
Google Workspace – Native support for Google Cloud Identity customers
Also Compatible
OneLogin – Enterprise identity management
JumpCloud – Cloud directory platform
Ping Identity – Enterprise SSO and identity solutions
Any SCIM 2.0 compliant provider – Standard protocol support
Key Features of Linkinize SCIM Integration
Automatic User Provisioning
When employees join your organization and are added to the appropriate IdP group, they’re automatically provisioned in Linkinize:
User account created instantly
Added to designated workspaces
Ready to collaborate immediately
No invitation emails or manual setup required
Real-Time User Updates
Keep user information synchronized automatically:
Name changes reflect immediately
Department moves update workspace access
Role changes propagate across the system
Instant Offboarding
When an employee leaves or changes roles:
Access revoked within seconds of IdP change
User deactivated (not deleted) to preserve data integrity
Audit trail maintained for compliance
No lingering access risks
Workspace (Group) Sync
SCIM Groups map directly to Linkinize Workspaces:
Create workspaces from IdP groups
Manage membership centrally
Keep team structures aligned with your organization
How SCIM Provisioning Works
Step 1: Enable SCIM in Linkinize
Organization admins can enable SCIM from the Plugins settings:
Navigate to Organization Settings > Plugins > SCIM
Toggle SCIM provisioning On
Generate a Bearer Token (shown once – save it securely)
Copy your SCIM Base URL
Step 2: Configure Your Identity Provider
Use the credentials from Linkinize to configure your IdP:
SCIM Base URL:
https://app.linkinize.com/scim/v2
Authentication: Bearer Token
Supported Operations:
Users: Create, Read, Update, Deactivate
Groups: Create, Read, Update, Delete
Step 3: Assign Users and Groups
In your IdP:
Assign users to the Linkinize application
Configure group pushes for workspace sync
Set up attribute mappings (email, name, external ID)
Step 4: Verify Provisioning
Once configured, test the integration:
Add a test user in your IdP
Verify they appear in Linkinize within seconds
Remove them and confirm deactivation
Security & Compliance Benefits
Zero-Trust Access Management
SCIM enables a zero-trust approach to access control:
Centralized identity governance – One place to manage all access
Immediate access revocation – No delay between IdP change and app access
Principle of least privilege – Users only get access to assigned workspaces
Compliance & Audit
Meet regulatory requirements with confidence:
SOC 2 Type II – SCIM integration supports compliance frameworks
GDPR – Automated data lifecycle management
ISO 27001 – Centralized access control documentation
Complete audit trail – Every provisioning action is logged
Data Protection
Your security is our priority:
Bearer tokens are hashed – Raw tokens never stored
TLS 1.3 encryption – All SCIM traffic encrypted in transit
Organization isolation – SCIM tokens scope strictly to one organization
No cross-tenant access – Complete data segregation
SCIM vs. Manual User Management
Aspect
Manual Management
SCIM Provisioning
Onboarding time
Hours to days
Seconds
Offboarding time
Hours to weeks
Instant
Human error risk
High
Eliminated
IT admin overhead
Significant
Minimal
Compliance audit
Manual documentation
Automatic logging
User data accuracy
Often outdated
Always current
Scalability
Limited
Unlimited
Frequently Asked Questions
What happens to existing users when I enable SCIM?
Existing users created through registration or invitation remain unchanged. SCIM only manages users it provisions. You can gradually migrate to SCIM-managed users over time.
Can SCIM delete users permanently?
No. SCIM deactivates users rather than deleting them. This preserves data integrity, audit trails, and allows for easy reactivation if needed.
What if a user exists in both SCIM and was manually invited?
SCIM will not overwrite manually managed users. If you attempt to provision an existing user via SCIM, you’ll receive a conflict response. This prevents accidental overwrites.
Can I use SCIM alongside SAML SSO?
Yes! SCIM and SAML SSO complement each other perfectly:
SAML SSO handles authentication (who can log in)
SCIM handles provisioning (who has accounts and access)
Most enterprise customers use both together.
Which plan includes SCIM?
SCIM provisioning is available exclusively on the Enterprise plan. Contact us to learn more about Enterprise features.
How do I revoke SCIM access?
Organization admins can revoke the SCIM token at any time from the Plugins settings. This immediately disables all SCIM operations while preserving existing user data.
Getting Started with SCIM
For Existing Enterprise Customers
SCIM is available now in your Organization Settings:
Go to Settings > Plugins > SCIM
Enable SCIM provisioning
Follow the setup guide for your IdP
For Teams Considering Enterprise
SCIM provisioning is one of many enterprise features designed for organizations that need:
We’ve officially shipped the new Linkinize release with AI built in, and it’s already live in the browser extension stores. It’ll start rolling out to users very shortly.
This update isn’t about slapping “AI” on the product for the sake of it. It’s about removing friction from something we all do every day: saving links, finding them later, and actually getting value out of them.
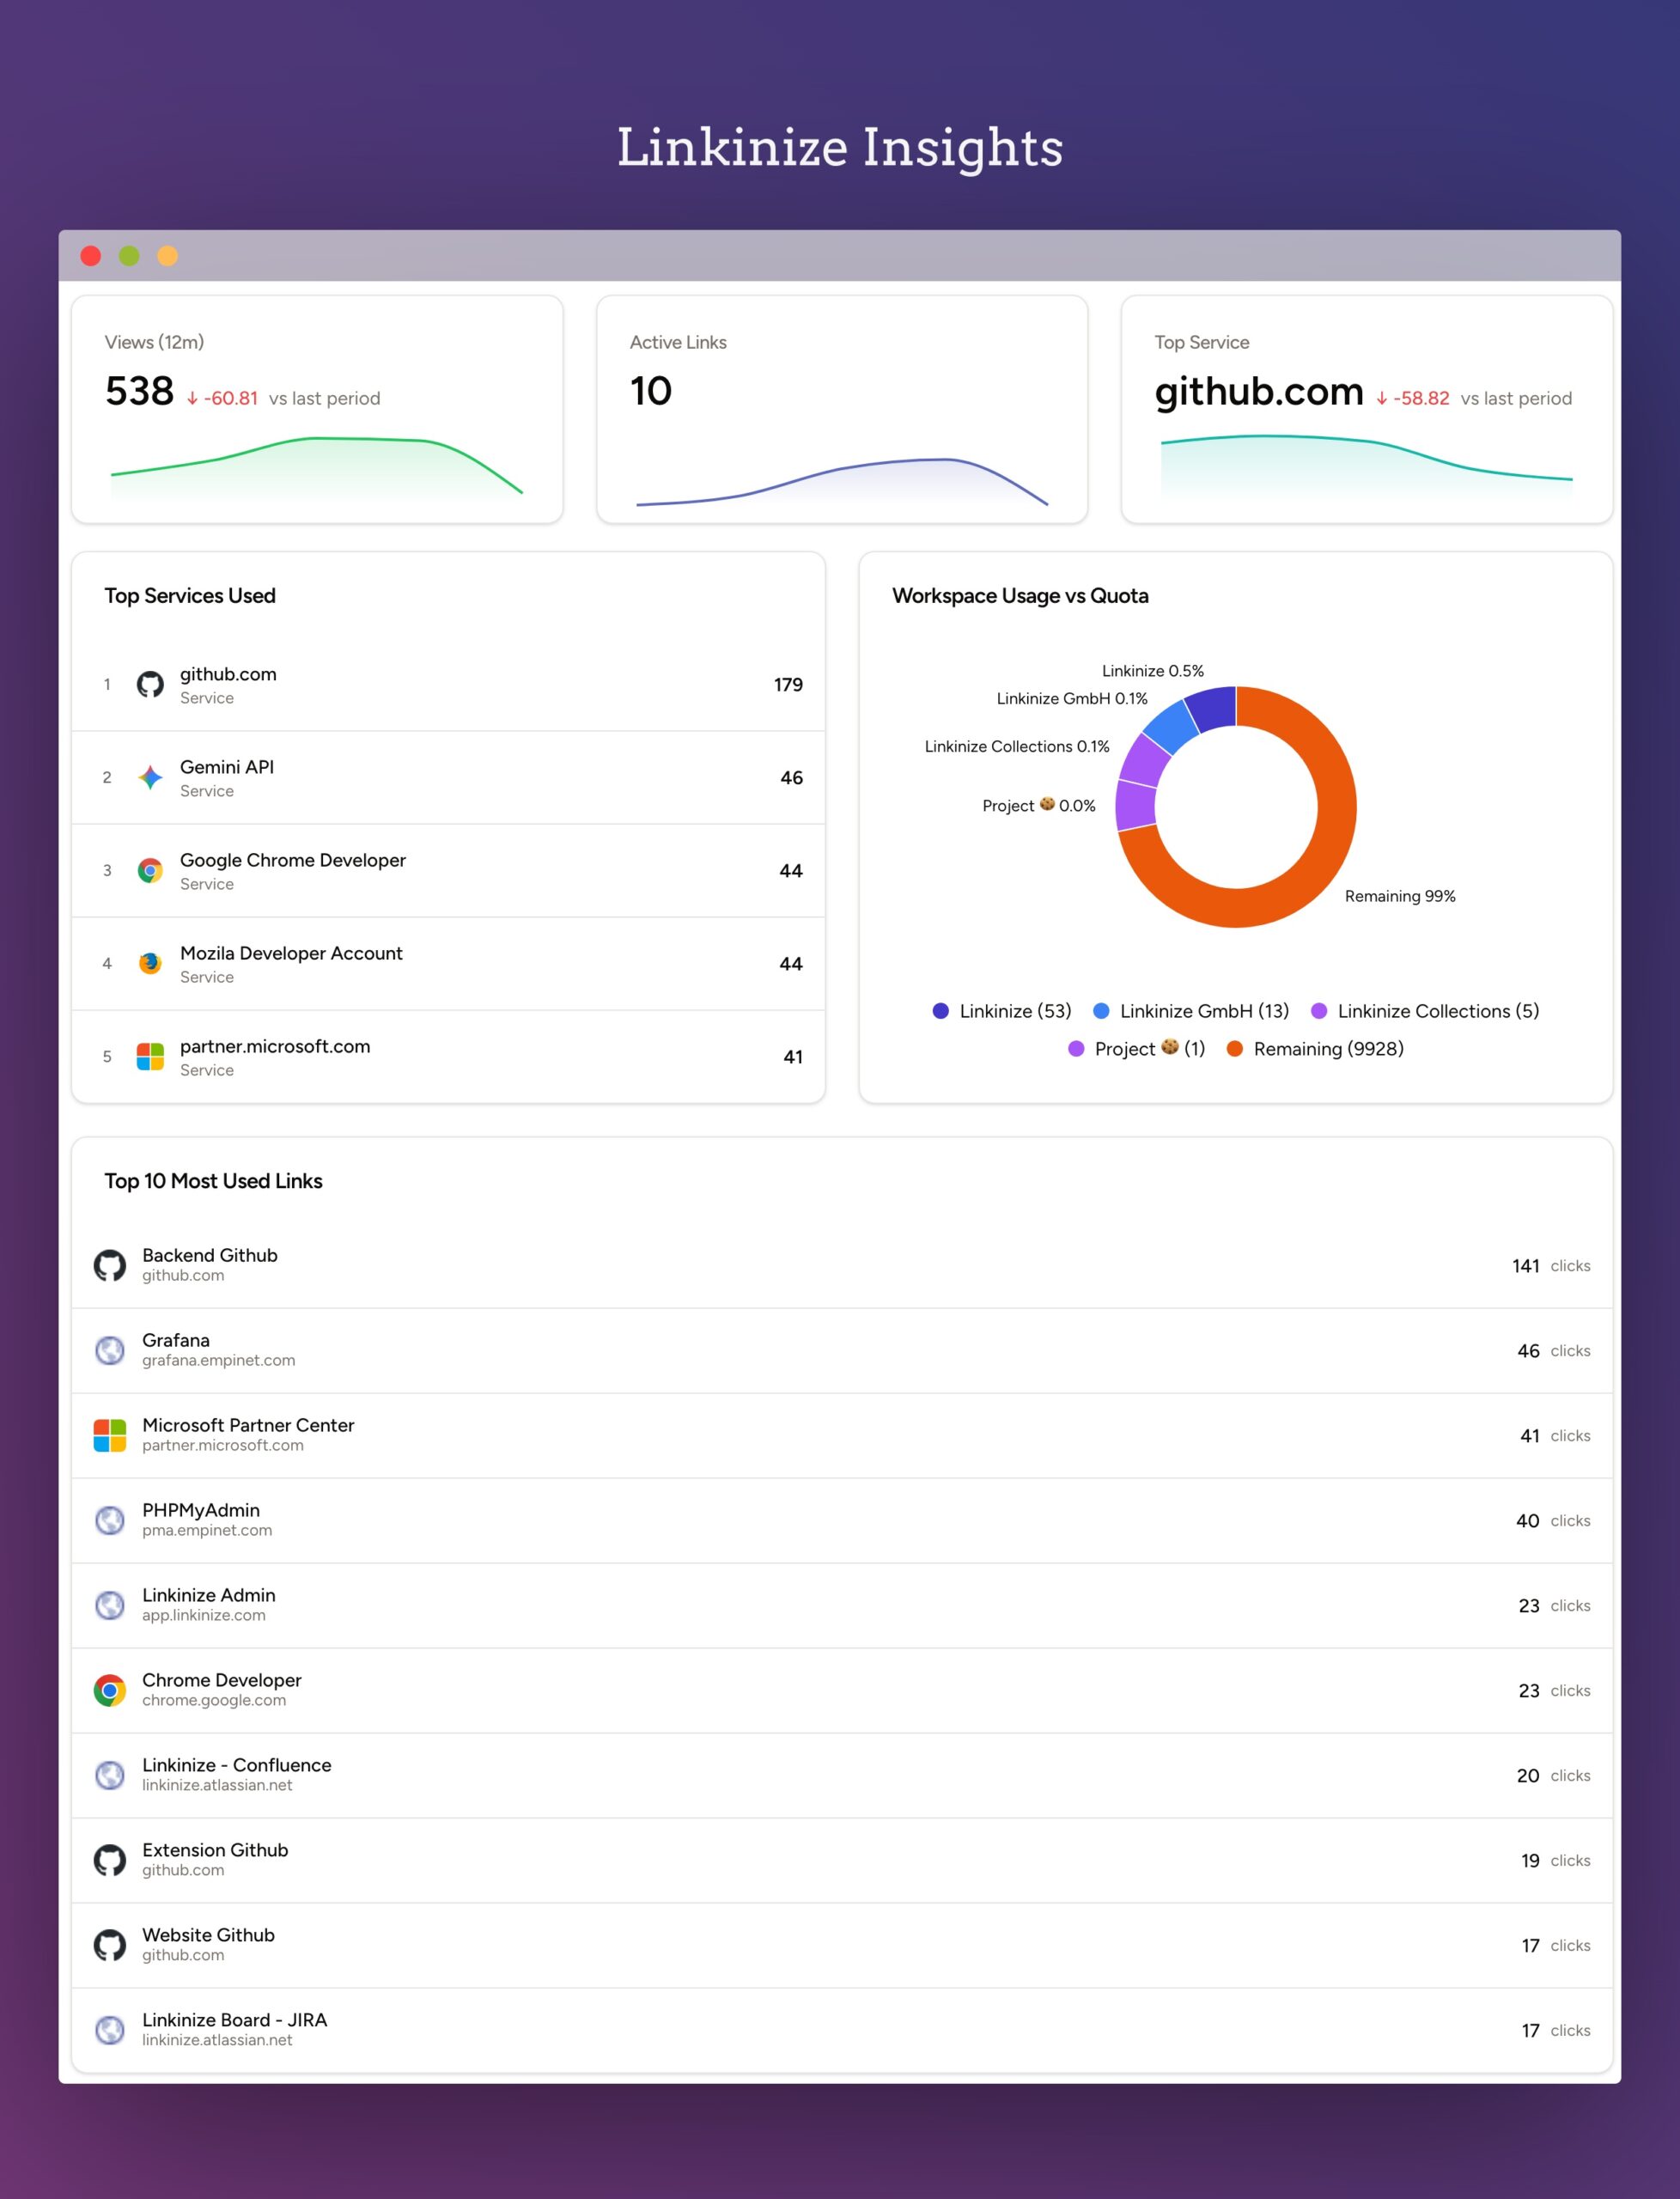
Organizations today rely on a growing ecosystem of external tools and services. From developer platforms and cloud dashboards to collaboration suites and analytics portals, the average team juggles dozens of links every day. While these tools are essential, they also come with hidden costs: licensing fees, overlapping functionality, and the risk of underutilization.
With our new Insights plugin, Linkinize now gives organization admins the clarity they need to manage this complexity.
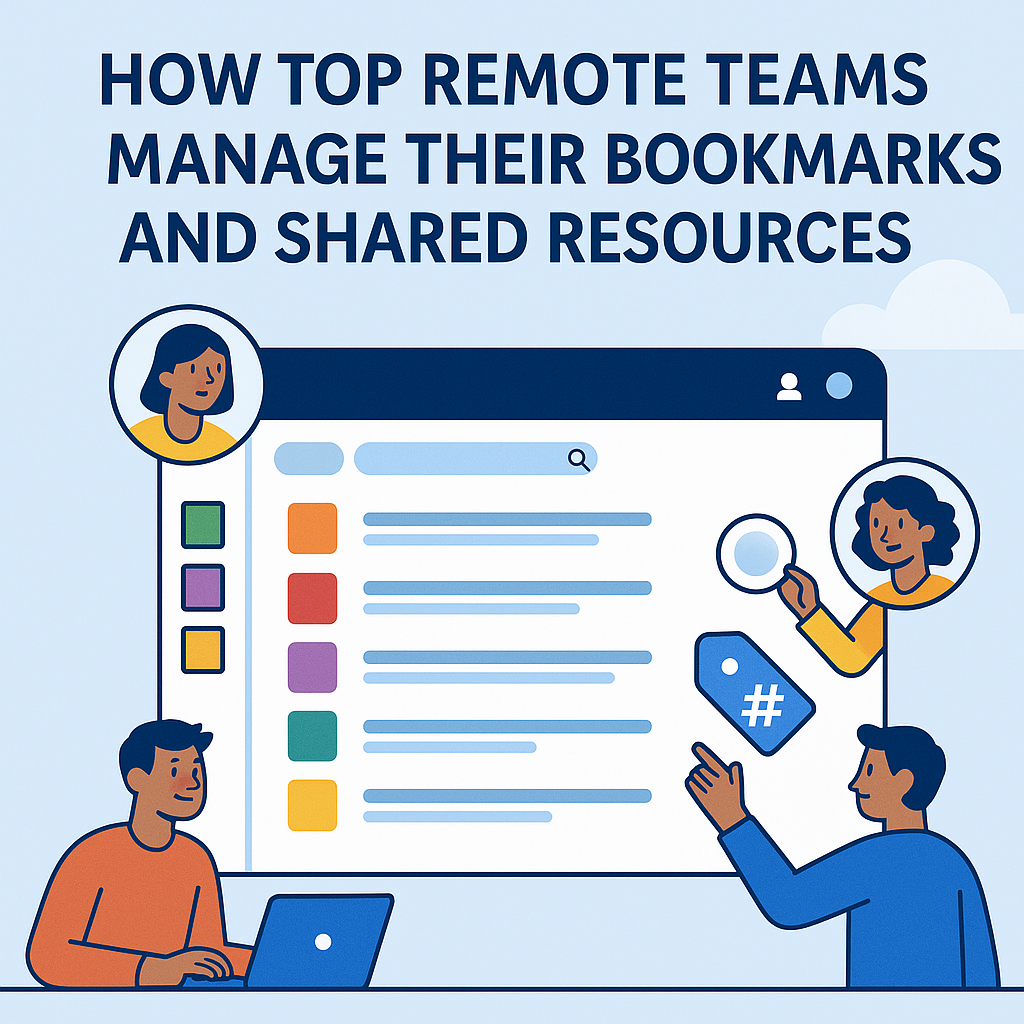
Remote work is here to stay, but disorganized links and scattered resources are slowing teams down. The best remote teams don’t just work from anywhere—they manage knowledge from anywhere too.
Here’s how high-performing remote teams organize their bookmarks and shared links to stay aligned and productive.
1. They Use a Centralized Bookmarking System
Instead of saving links in personal browsers or random Slack threads, top teams rely on a shared workspace like Linkinize. This ensures everyone has access to the same resources, regardless of timezone.
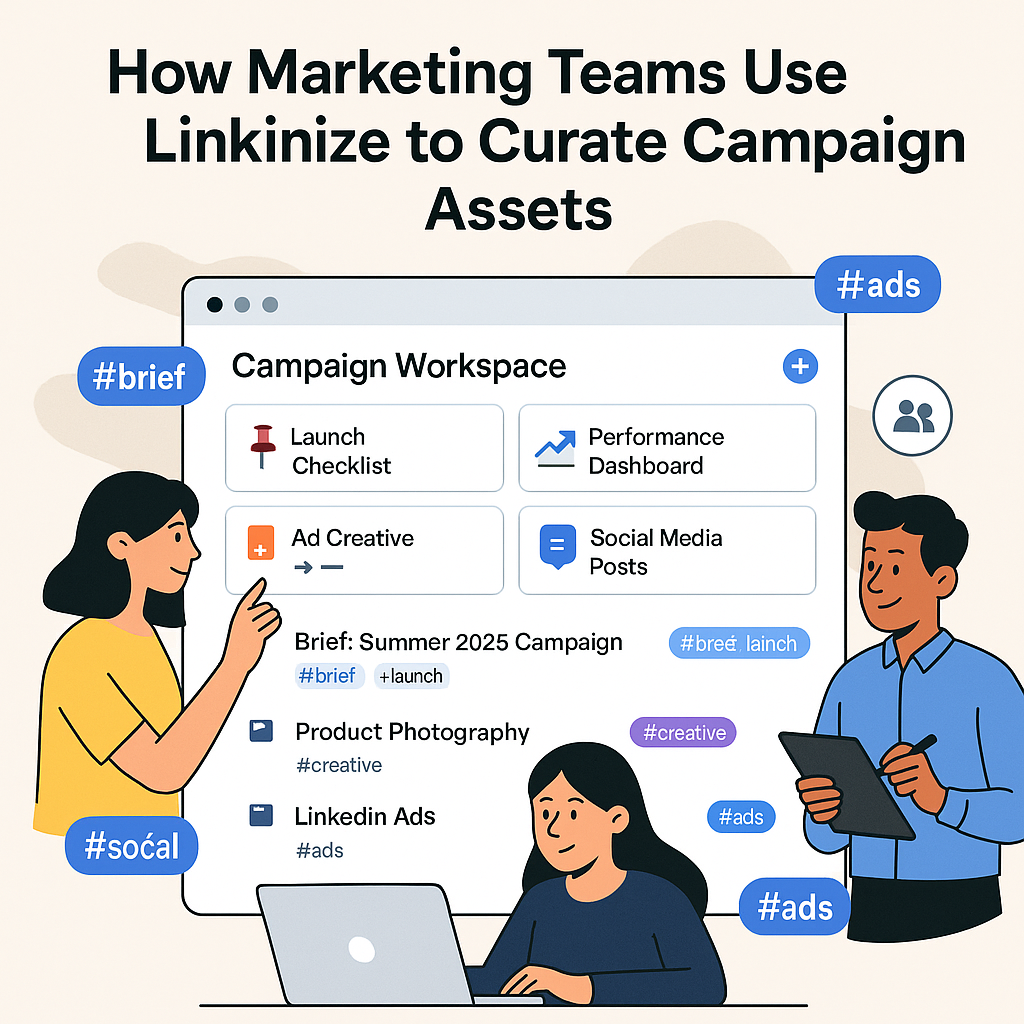
Campaigns move fast in marketing teams. Between creative files, dashboards, briefs, and ad platforms, links can disappear into chat threads and inboxes—slowing execution and risking missed deadlines. Linkinize turns scattered URLs into a structured, shareable and manageable hub so your team can find what they need in seconds.
Analytics: GA4 reports, social insights, A/B test dashboards
Project docs: briefs, timelines, status updates, task boards
Ad platforms: Google Ads, Meta, LinkedIn Campaign Manager
When these links are scattered, teams waste time searching and asking for the “latest version.” A curated link hub removes friction and keeps everyone aligned.
Internal links are everywhere—dashboards, documents, admin panels, staging environments. But without proper structure, sharing these URLs turns into chaos. Worse, it becomes a security risk.
Here’s how to securely share internal URLs with your team—while keeping everything tidy, accessible, and under control.
1. Use Role-Based Access
Not every team member needs access to every link. Group links by workspace, and set permissions accordingly—view, edit, or admin.
2. Avoid Open Google Docs or “Anyone with the Link”
We’ve all done it. But sharing a link with “anyone with the link” is an open door. Use tools that respect your internal user base and enforce authentication.
3. Use a Secure, Centralized System
Instead of Slack threads or spreadsheets, use a link manager like Linkinize to manage access, context, and structure around every URL.
4. Archive or Remove Outdated Links
Just because a link worked last quarter doesn’t mean it’s still relevant. Make link cleanup a monthly habit.
5. Don’t Share from Your Personal Account
Internal tools tied to your personal access may not work for others. Always copy links from a shared team account, when applicable.
6. Use Descriptions and Context
Why is this link important? Who is it for? Adding context to each URL reduces confusion and misuse—especially for new team members.
Final Thoughts
Link sharing is part of modern team workflows—but it must be done with structure and security in mind. Poor practices lead to confusion and risk. The right habits and tools keep your internal knowledge safe and discoverable.
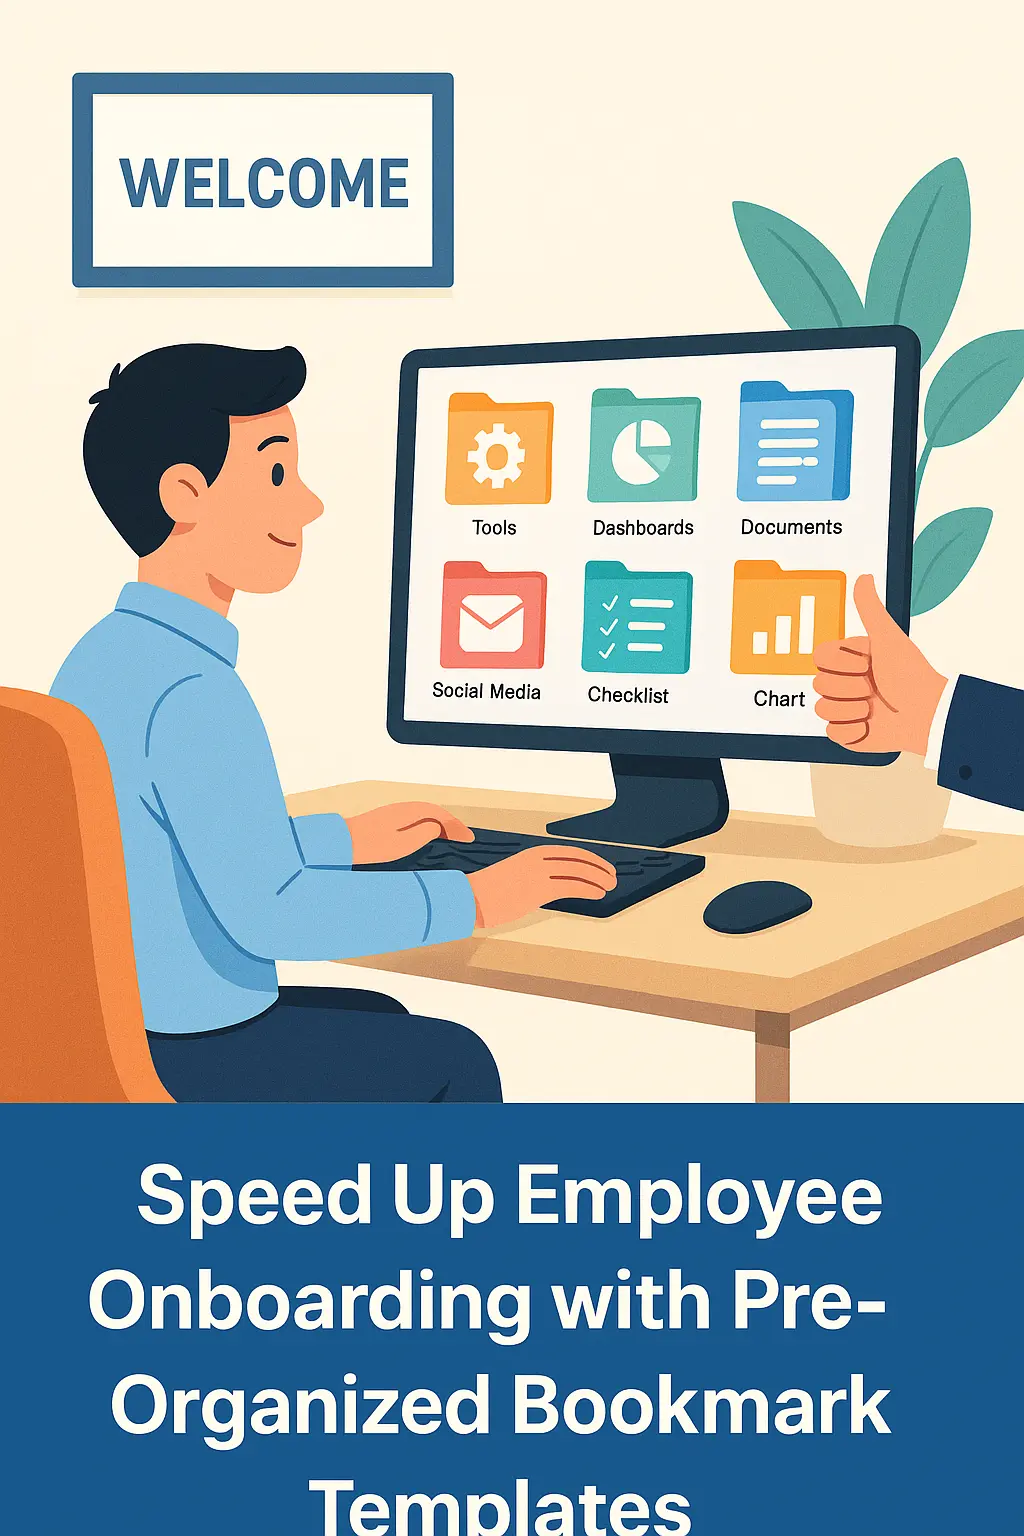
Employee onboarding can make or break a new hire’s first impression of your company. The faster they get access to essential tools, resources, and processes, the quicker they can start contributing effectively. One underrated but powerful way to speed this up is by using pre-organized bookmarks templates.
Why Bookmarks Matter in Onboarding
Most roles today involve using multiple apps, dashboards, and internal documents daily. For a new team member, finding and remembering these resources can be overwhelming. A central bookmark hub acts as their compass—making it easy to find everything they need in seconds.
How Pre-Organized Bookmark Templates Work
Centralized Access: All key links—tools, login portals, process docs—are stored in one place.
Role-Based Collections: Different templates for sales, engineering, marketing, and support.
Secure Sharing: Permissions ensure that each employee only sees the links relevant to their role.
Benefits for HR and Team Leads
Using bookmark templates saves HR and team leads hours of repeated explanations and setup steps. Instead of sending multiple scattered links over chat or email, everything is organized and ready from day one.
Best Practices for Onboarding with Bookmark Templates
Tag and Categorize: Use tags like “Login”, “Training”, “Tools” to help new hires find resources quickly. See our guide on using tags in Linkinize.
Keep It Updated: Review templates monthly to ensure outdated links are removed.
Integrate with Onboarding Docs: Include a link to the bookmark hub in your welcome email or onboarding checklist.
Example: A Marketing Team Bookmark Template
Google Analytics Dashboard
Brand Guidelines PDF
Campaign Tracking Sheet
Social Media Scheduling Tool
Shared Creative Assets Folder
How Linkinize Makes It Easy
With Linkinize, you can create multiple workspaces—one for each department or role—and pre-fill them with bookmarks. New hires get instant access to their workspace on their first day, dramatically cutting down setup time.
Next Steps
If you want to speed up onboarding and create a smooth first week for your team, start building your first bookmark template today. Try Linkinize free and see how quickly your team adapts.
When an employee leaves, most teams remember to disable emails and tools—but they often forget something just as critical: shared links.
From Google Docs and Notion pages to internal dashboards and cloud folders, ex-employees may retain access long after they’ve left. That’s a serious security and compliance risk.
1. Audit Shared Workspaces
Start with any shared workspace tools—like Linkinize, Notion, or shared folders. Remove or reassign access to bookmarks, tags, or folders linked to their role.