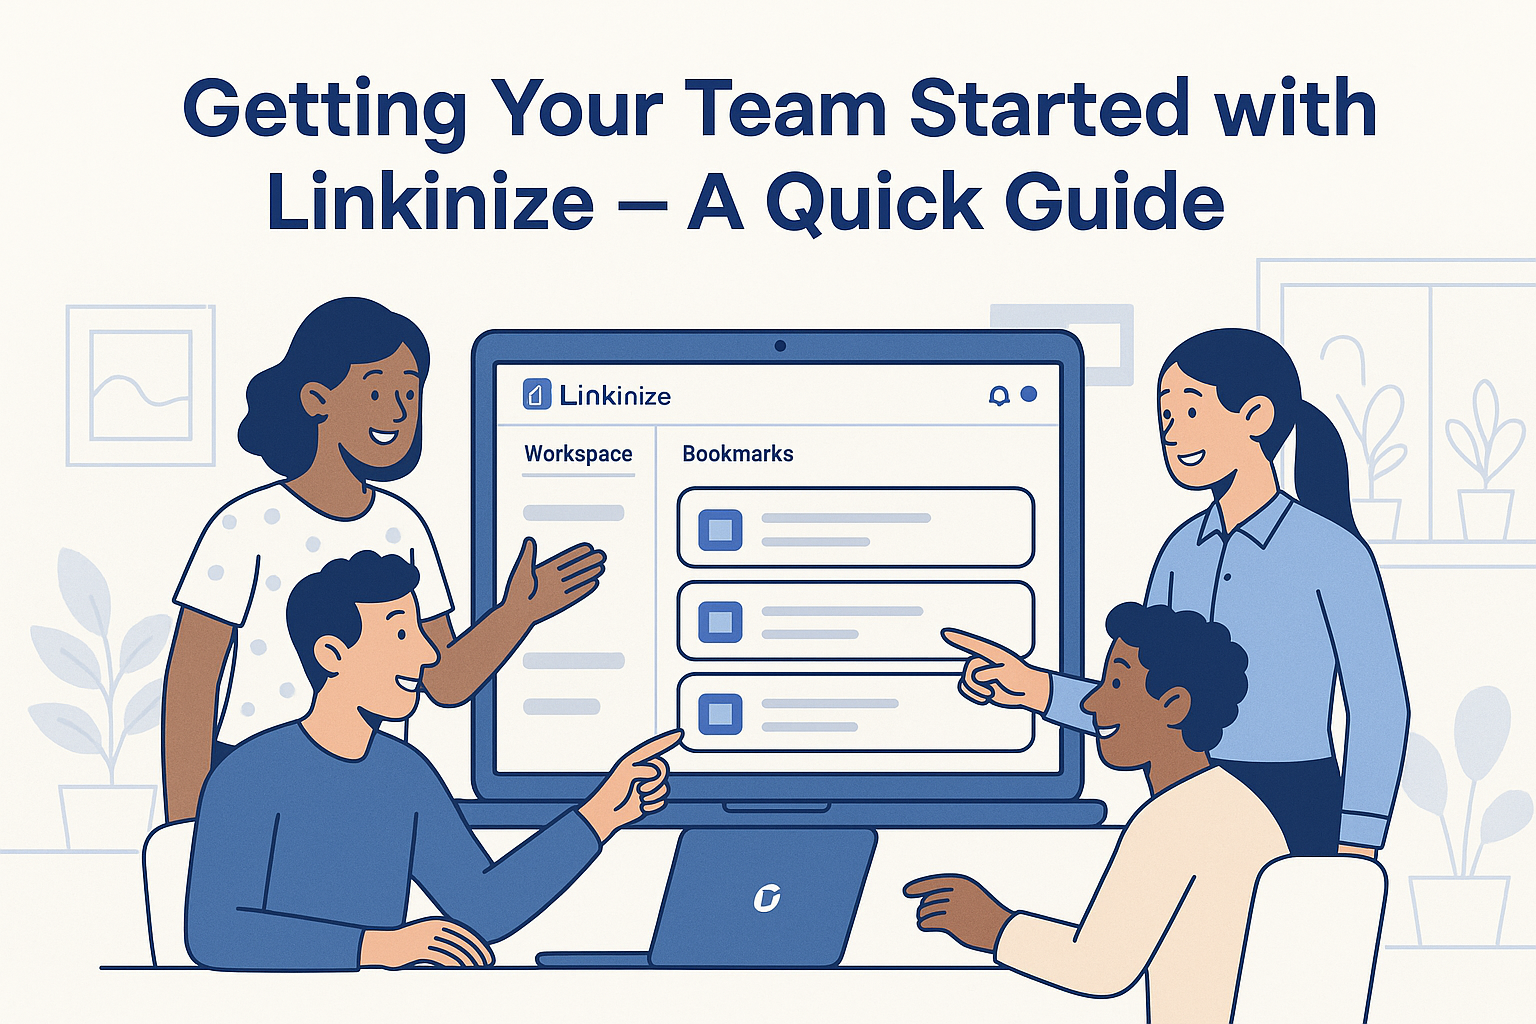
🎉 Getting Your Team Started with Linkinize – A Quick Guide

Setting up Linkinize for your team is simple and can instantly boost your team’s productivity and organization. This quick guide will walk you through the steps to get started with Linkinize and make the most of its features.
🏢 Step 1: Create Your Organization
The first step is to create your organization in Linkinize. The organization serves as the central hub for managing your teams, workspaces, and members. Here’s how:
- Head to the Linkinize dashboard and select “Create Organization”.
- Enter your organization’s name and other basic information.
- Once your organization is created, you can add members and start organizing your workspaces.
- When creating an account on linkinize, by default you are assigned a default organization and workspace (you can rename them to your liking at anytime)
🛠️ Step 2: Set Up Workspaces
Workspaces are where your teams will collaborate and manage bookmarks. To create a workspace:
- From your organization page, select “Create Workspace”.
- Give the workspace a name and assign members with specific roles or permissions.
- Workspaces can be dedicated to projects, departments, or specific teams, helping you organize bookmarks more efficiently.
📑 Step 3: Invite Your Team
Inviting your team members to join Linkinize is straightforward. Follow these steps:
- Go to the “Invite Users” section in your workspace.
- Enter your team members’ emails and send them invitations to join Linkinize.
- Once they accept the invitation, they’ll be able to access the workspace and contribute to the collaboration.
🔖 Step 4: Start Organizing Bookmarks
Once your team is set up, it’s time to start adding bookmarks. Here’s how to organize your bookmarks effectively:
- Use tags to categorize bookmarks by topic, project, or team.
- Leverage the browser extension to add and organize bookmarks directly from your browser.
🧑💻 Step 5: Customize Roles and Permissions
Linkinize lets you customize user roles and permissions within each workspace to ensure the right level of access:
- Admins have full control to manage workspaces, members, and settings.
- Members can contribute and collaborate but have limited access to workspace management.
- Review and adjust roles to suit your team’s needs.
🔗 Step 6: Utilize Linkinize’s Browser Extensions
To make bookmarking and organization seamless, encourage your team to install the Linkinize browser extension. This allows them to add and tag bookmarks directly from their browser, ensuring everything stays organized on the go.
🎯 Pro Tips
- Set up different workspaces for each department, project, or team to keep things organized and avoid clutter.
- Regularly review and clean up your bookmarks to ensure they remain relevant and easy to find.
- Use the “Invite Users” feature to onboard new team members quickly and efficiently.
🚀 Final Thoughts
Getting your team started with Linkinize is quick and easy. By following these simple steps, your team will be organized and productive in no time. Start organizing your bookmarks today and enhance your team’s collaboration!
Want learn more? Book a demo and turn your team’s bookmarks into real knowledge.